
Step 1 - Check
Make sure you have all the hardware required for each bracket.
(1) This product includes a range of accesories to facilitate the installation in different vehicule makes/models.
(2) Power tools are NOT REQUIRED to install our product/s. By using power tools you can damage your vehicle and the thread on the brackets.
(3) Avoid welded nut to snap: Max Torque 25 Nm (18.439 ft-lbs) that means tighter than hand tight + 1/4- 1/2 a turn in most cases.
(4) Use the lock nut provided behind the bracket nut (for extra safety).
(5) These brackets are not compatible with any freestanding awning
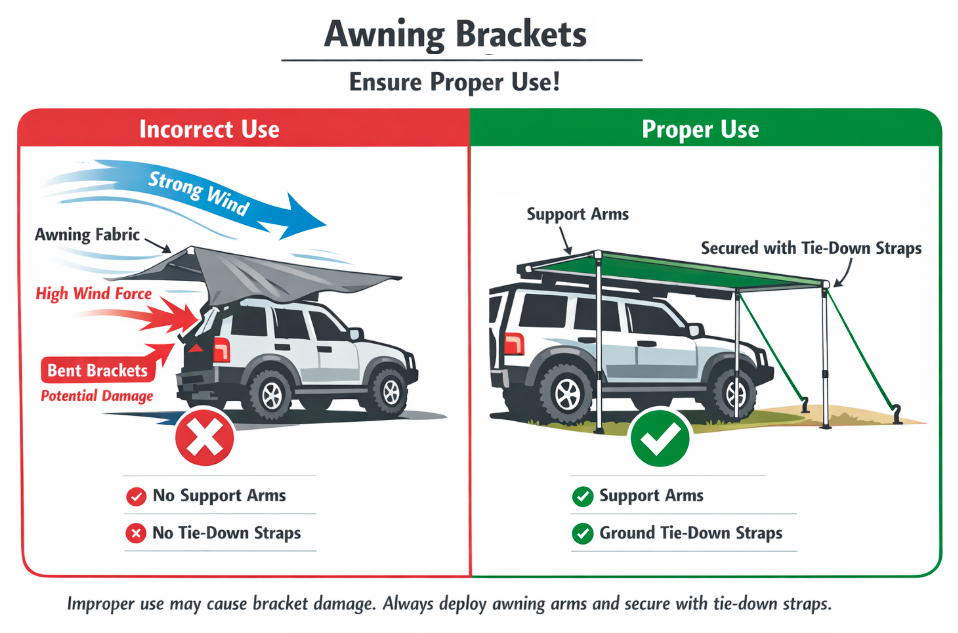
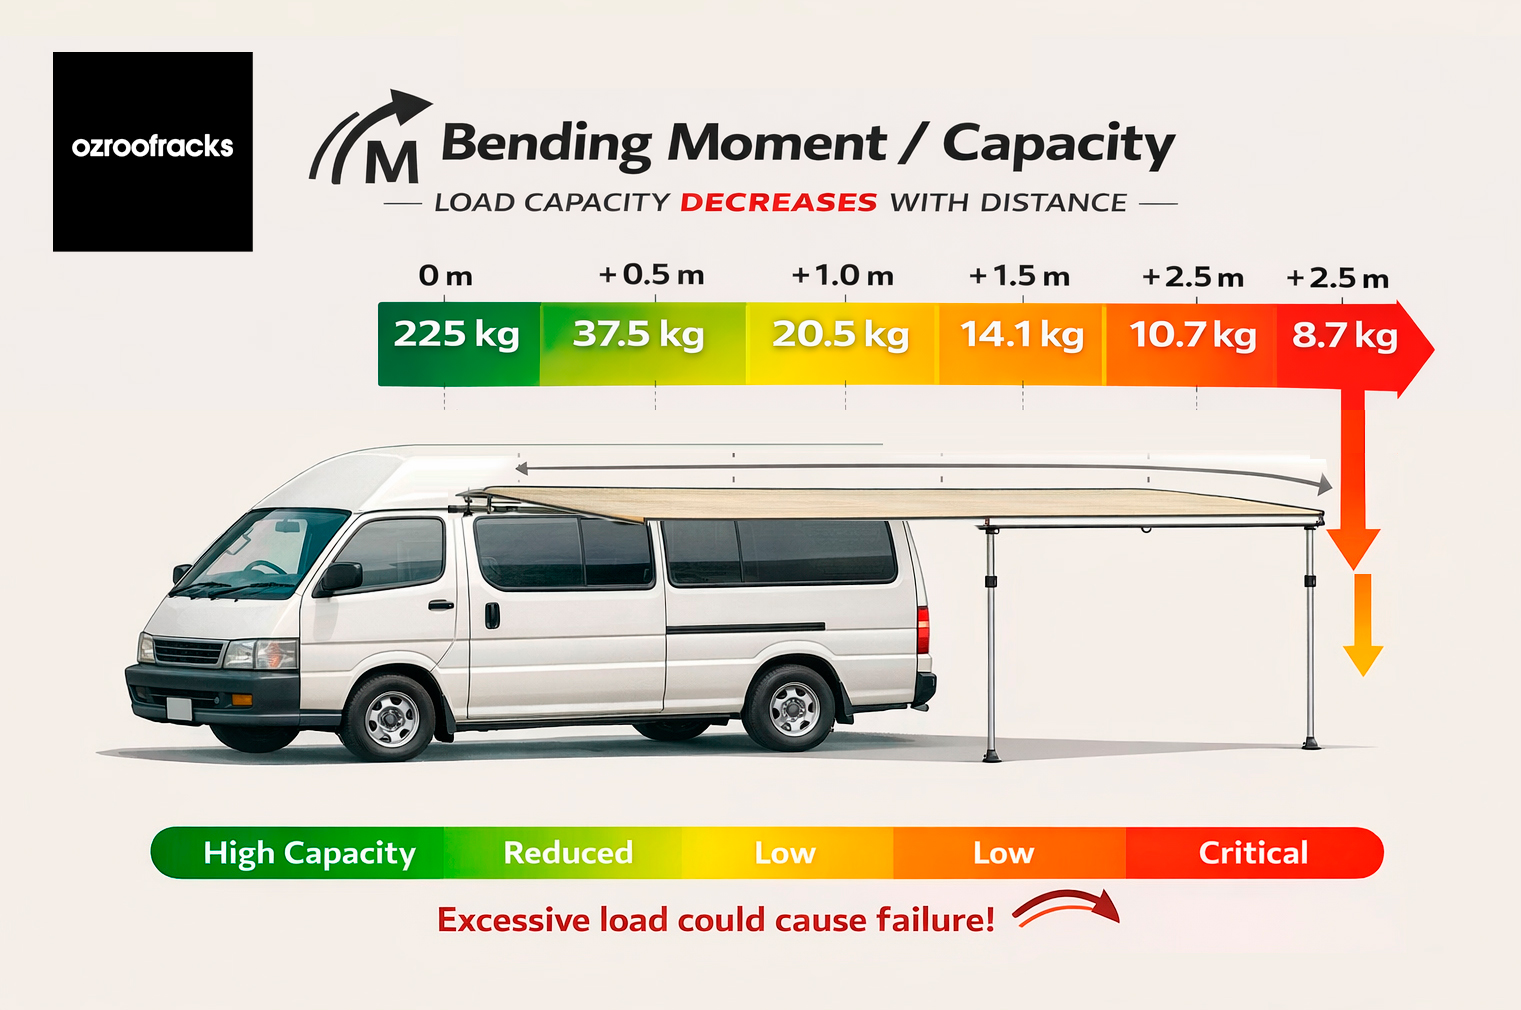
Improper use may result in bending or damage to the brackets/vehicle. The user is unique responsible for ensuring the awning/accesory is correctly deployed and adequately secured at all times.
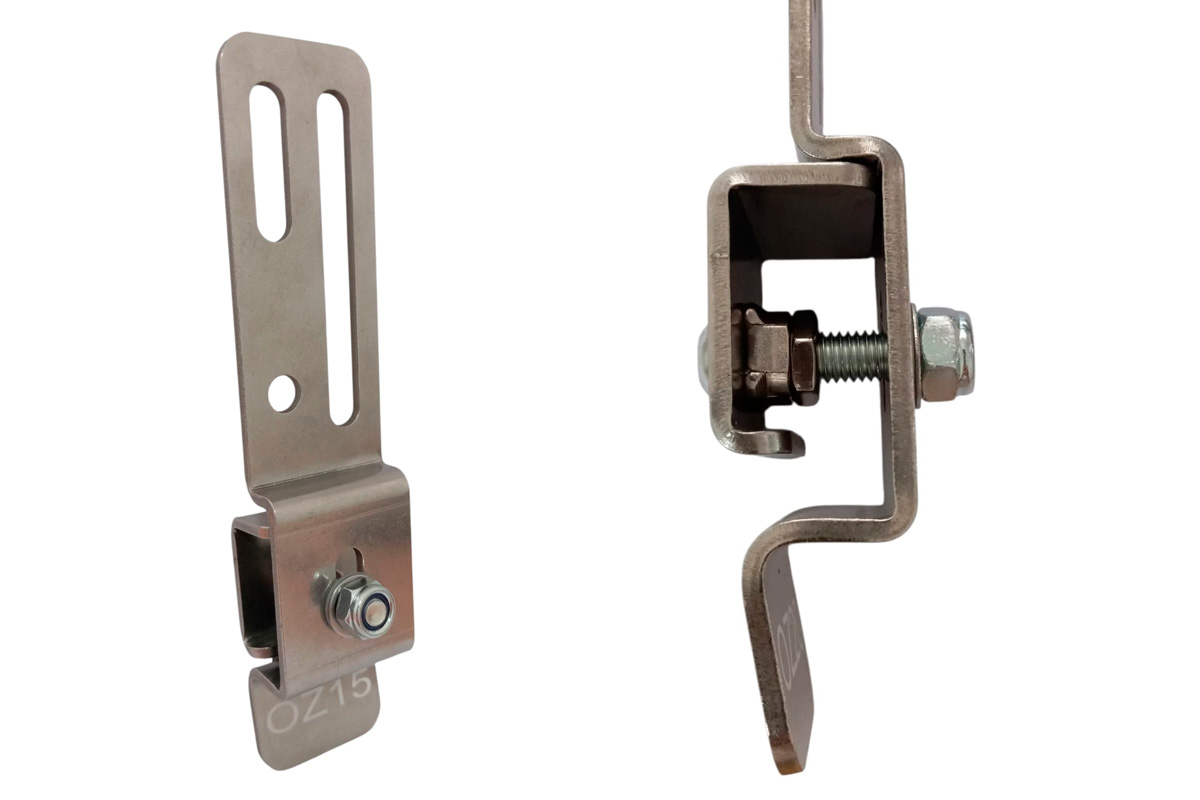
STRONGEST (recommended): Bolt back to front or finishing to front nut
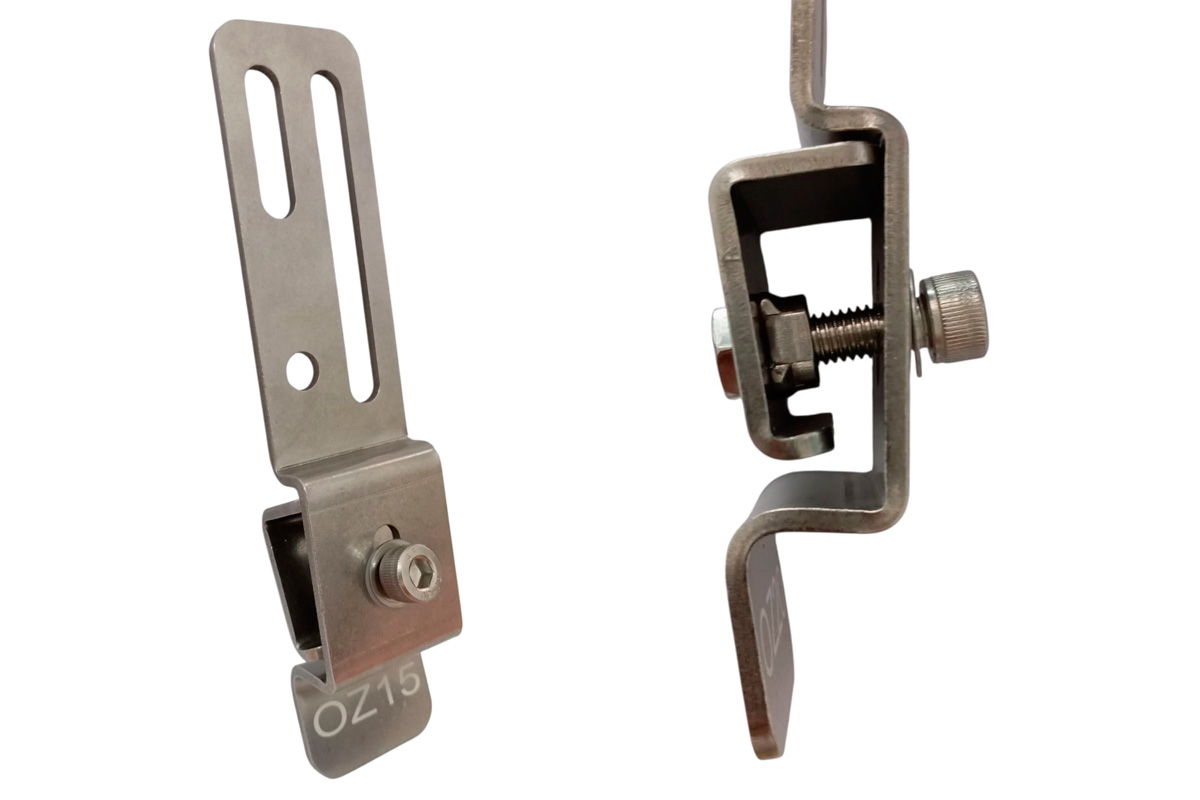
EASIEST: Nut behind the small plate
Make sure you have all the hardware required for each bracket.

Clean the gutter and make sure there is nothing where you'll place the bracket.

Place a piece of paper on the vehicle wall to protect it from scracthes.

Place the button head socket screw on the flat side of the backplate with a nylon washer in between. You don't need a wrench to do this.
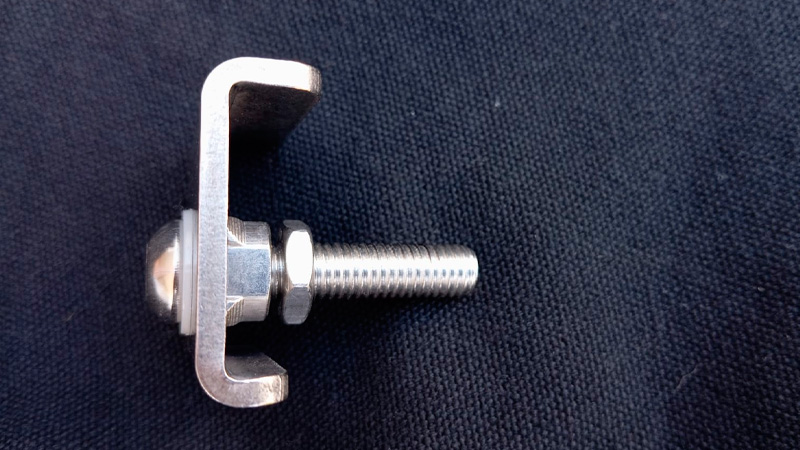
Now lock with the thin lock nut well tightened on top of the welded nut preinstalled.
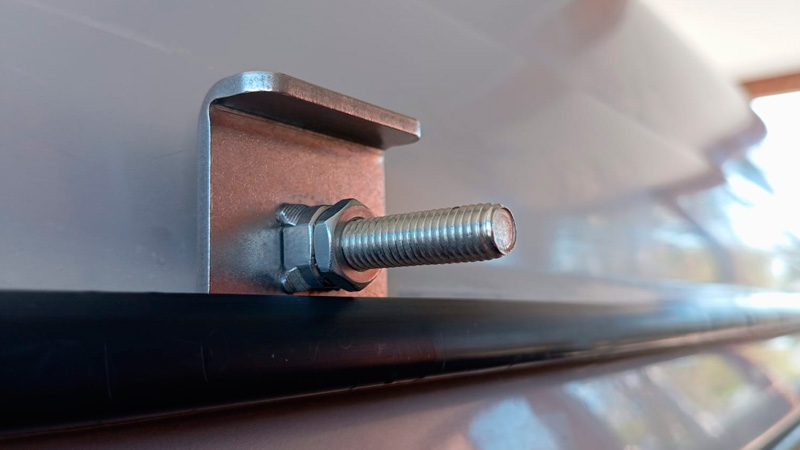
Put the small plate set over the gutter.

Now you can stick the mounting rubber to the lower bracket fold to protect your vehicle

Gently position the bracket under the gutter, securing the over gutter plate.
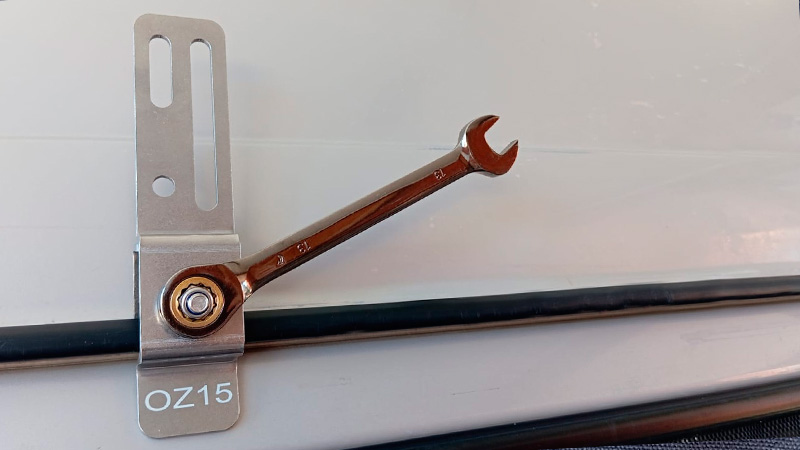
Now you can start tightening the nylom lock nut to the bolt on the bracket.
Everything should be ready by now to fit accesories and re-check the installation.
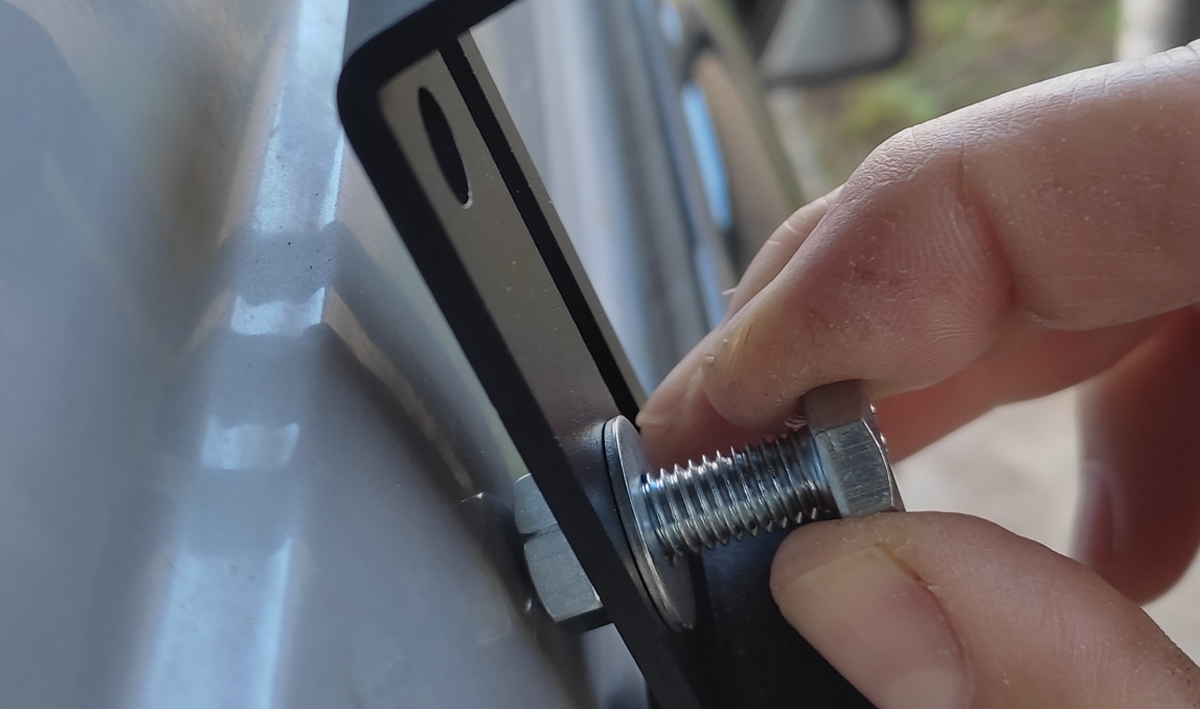
Check often your installation and make sure that any accesory fitted to the bracket is at least 3-5mm away from the vehicle.

We encourage installator/s to use a good silicone self-fusing tape, liquid sealant, high density thread seal tape or anaerobic sealant if you're planning a low-maintenance and long-lasting installation.
Make sure you have all the hardware required for each bracket.
Clean the gutter and make sure there is nothing where you'll place the bracket.
Place a piece of paper on the vehicle wall to protect it from scracthes.
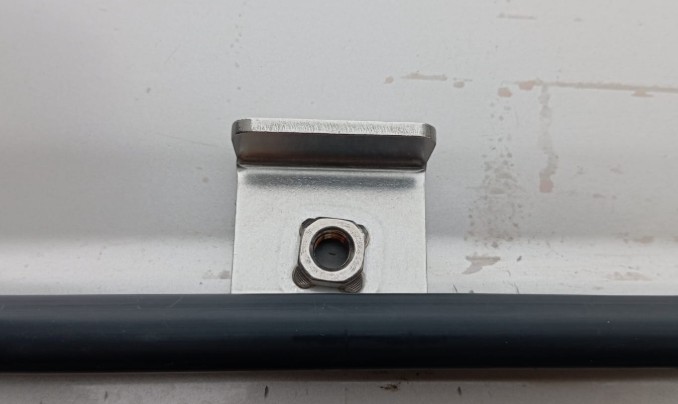
Put the gutter small plate over the gutter, laying down over the vehicle wall.
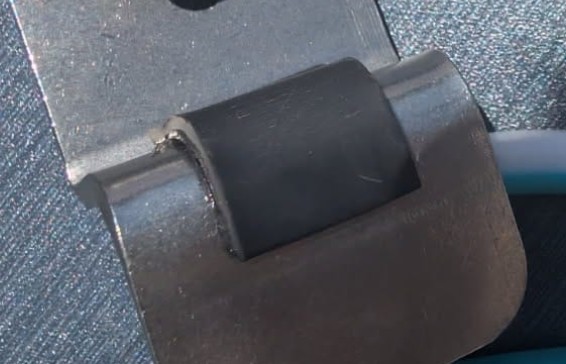
Fit the adhesive rubber on the bracket, where the bracket will contact the vehicle (under gutter - fig.3).
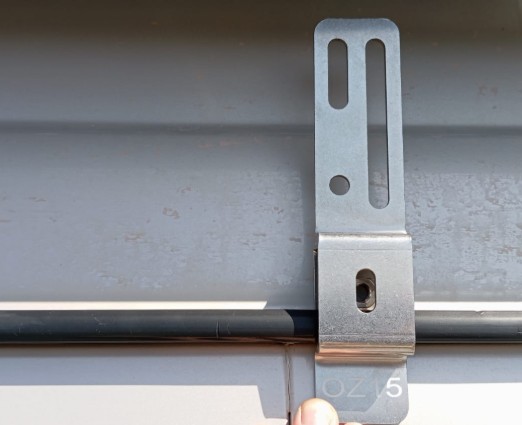
Gently position the bracket under the gutter, securing the over gutter plate.
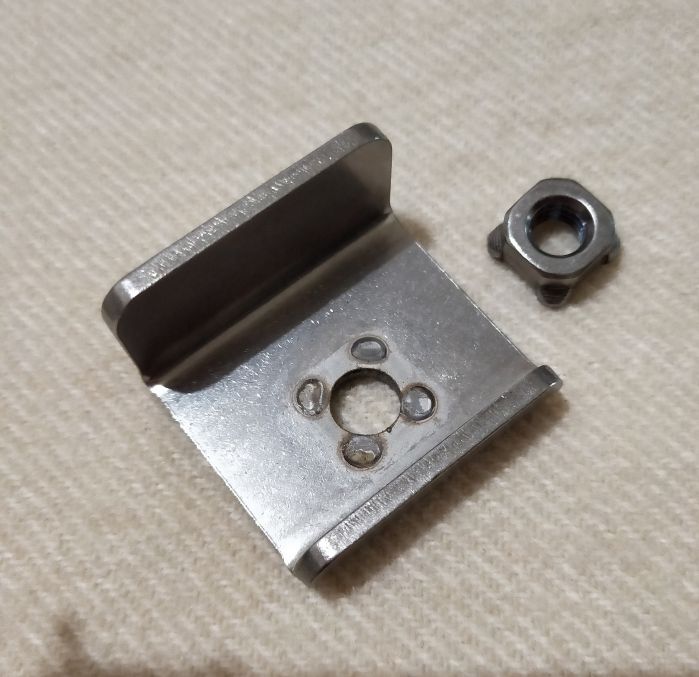
Avoid snap! the welded nut is just to guide the bolt position.

Now you can start tightening the bolt to the bracket.
Max Torque 25 Nm (18.439 ft-lbs) that means tighter than hand tight without forcing.

Once you see the bolt thread from the back, place the thin safety lock nut.
Hold super tight!
This is proven to increase x3 times the downwards strength of the bracket.
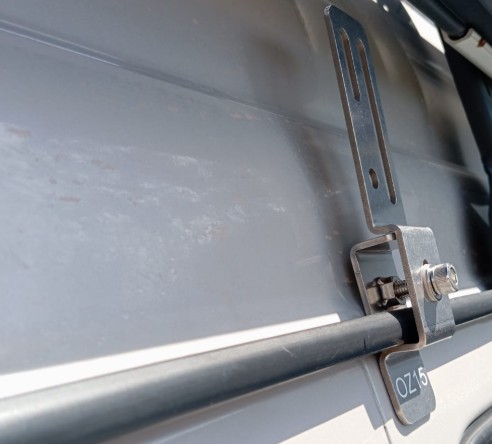
Everything should be ready by now to fit accesories and re-check the installation.
Check often your installation and make sure that any accesory fitted to the bracket is at least 3-5mm away from the vehicle.
We encourage installator/s to use a good silicone self-fusing tape, liquid sealant, high density thread seal tape or anaerobic sealant if you're planning a low-maintenance and long-lasting installation.